Roblox
Build a Roblox Game with AI: A Better First Obby
Plan an obstacle course players can understand, generate a Roblox place with Buildr, and test checkpoints, respawns, and the finish in Studio.
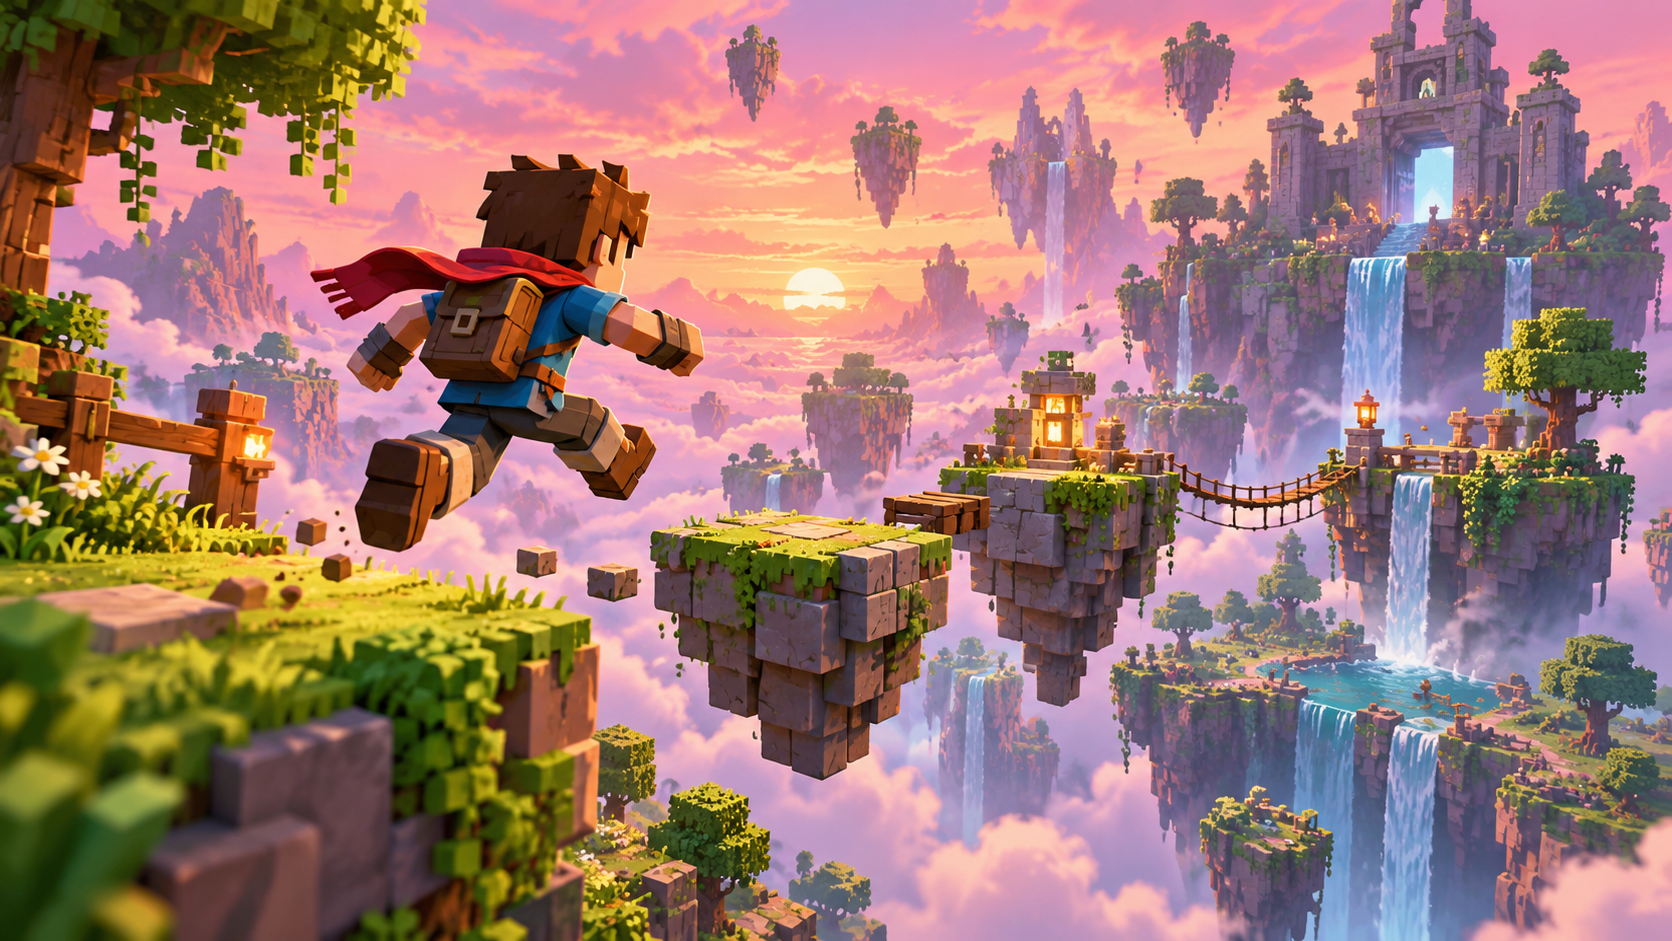
An obby looks simple: jump between platforms and reach the end. The difference between a frustrating course and an enjoyable one is usually in the details. Players need to know where to go, understand each obstacle, and recover from failure without losing an unreasonable amount of progress.
Buildr’s Roblox destination produces a native place with scripts for Roblox Studio. Use it to start with a focused course, then inspect the actual behavior in Studio. The in-browser scene is a useful visual preview; it is not a replacement for testing Roblox’s game runtime.
Give the course a clear route
Design a short sequence that introduces one challenge at a time. Start with a safe area, then static jumps, then a moving platform, and finally a slightly harder combination. Put a checkpoint after a meaningful section.
Landmarks help more than decorative clutter. A large gate can identify the finish. A consistent platform color can suggest the route. Keep distracting objects away from edges where players need to judge a jump.
Aim for a course that explains itself through its layout. A player should be able to look ahead and identify the next destination without reading a paragraph of instructions.
Describe the rules in the prompt
Include the behaviors that must work, especially after the player falls. A checkpoint object is only useful if it changes the next respawn location.
Build a Roblox floating-island obby with six short stages. Begin with a safe spawn area and a sign explaining the goal. Introduce static jumps first, then one moving platform section. Add a checkpoint after stages two and four, visible checkpoint feedback, and respawning at the latest checkpoint after a fall. Put a clearly marked finish gate on the last island and show a completion message. Keep the first version single-player-friendly and avoid purchases or inventory systems.
Open the Buildr studio, choose Roblox, and use this as a starting brief. A paid plan and an enabled model are required for generation. The prompt-writing guide explains how to make the requirements more specific without writing code yourself.
Open the native place in Studio
Download the Roblox place from your project and open it in Roblox Studio. Roblox’s official Studio setup guide covers installation and signing in if you are starting with the editor.
In Buildr, the project’s connection panel provides the available Studio connector and pairing instructions. Follow those instructions for that project. Keep pairing credentials private and use the matching native environment when sending previews back.
Opening the file is the beginning of validation. Check the Explorer hierarchy, inspect the included scripts, and run the place to see whether the actual player behaves as expected.
Test the course from start to finish
| Test | What success looks like |
|---|---|
| First spawn | The player starts on safe ground facing the route |
| Checkpoint | Touching it records progress and gives visible feedback |
| Falling | The player respawns at the latest checkpoint |
| Moving platform | Timing is readable and movement is consistent |
| Finish | The course recognizes completion exactly once |
| New player | Progress starts cleanly for another player |
Test more than the happy path. Fall before the first checkpoint and after each later checkpoint. Reach the finish twice. Try the course with a second player when you intend to support multiplayer. A visual preview cannot confirm server behavior or per-player state.
Check Studio’s output for script errors during those tests. When a failure happens, note the action that triggered it and what you expected instead.
Improve difficulty with precise edits
“Make it harder” can change too many things. Ask for a specific adjustment: shorten one platform gap, increase the moving platform’s pause, or add a safe resting area before the final challenge.
For a checkpoint issue, a useful request is: “After falling in stage three, the player returns to the beginning. Make the stage-two checkpoint determine the respawn position for that player. Keep the stage layout.”
Download and test the revised place again. Before publishing, review scripts, assets, permissions, and multiplayer behavior in Studio. Buildr helps you create and iterate on the starting project; Studio remains where you validate the Roblox experience.
Start with a course you can finish in a few minutes. Open Buildr and make every checkpoint, jump, and restart worth playing.
YOUR NEXT BUILD