Roblox
Build a Roblox Obby with AI: Checkpoints, Readable Jumps and a Fair Finish
Plan a Roblox obstacle course with clear jump language, reliable checkpoints and a finish state players can understand.
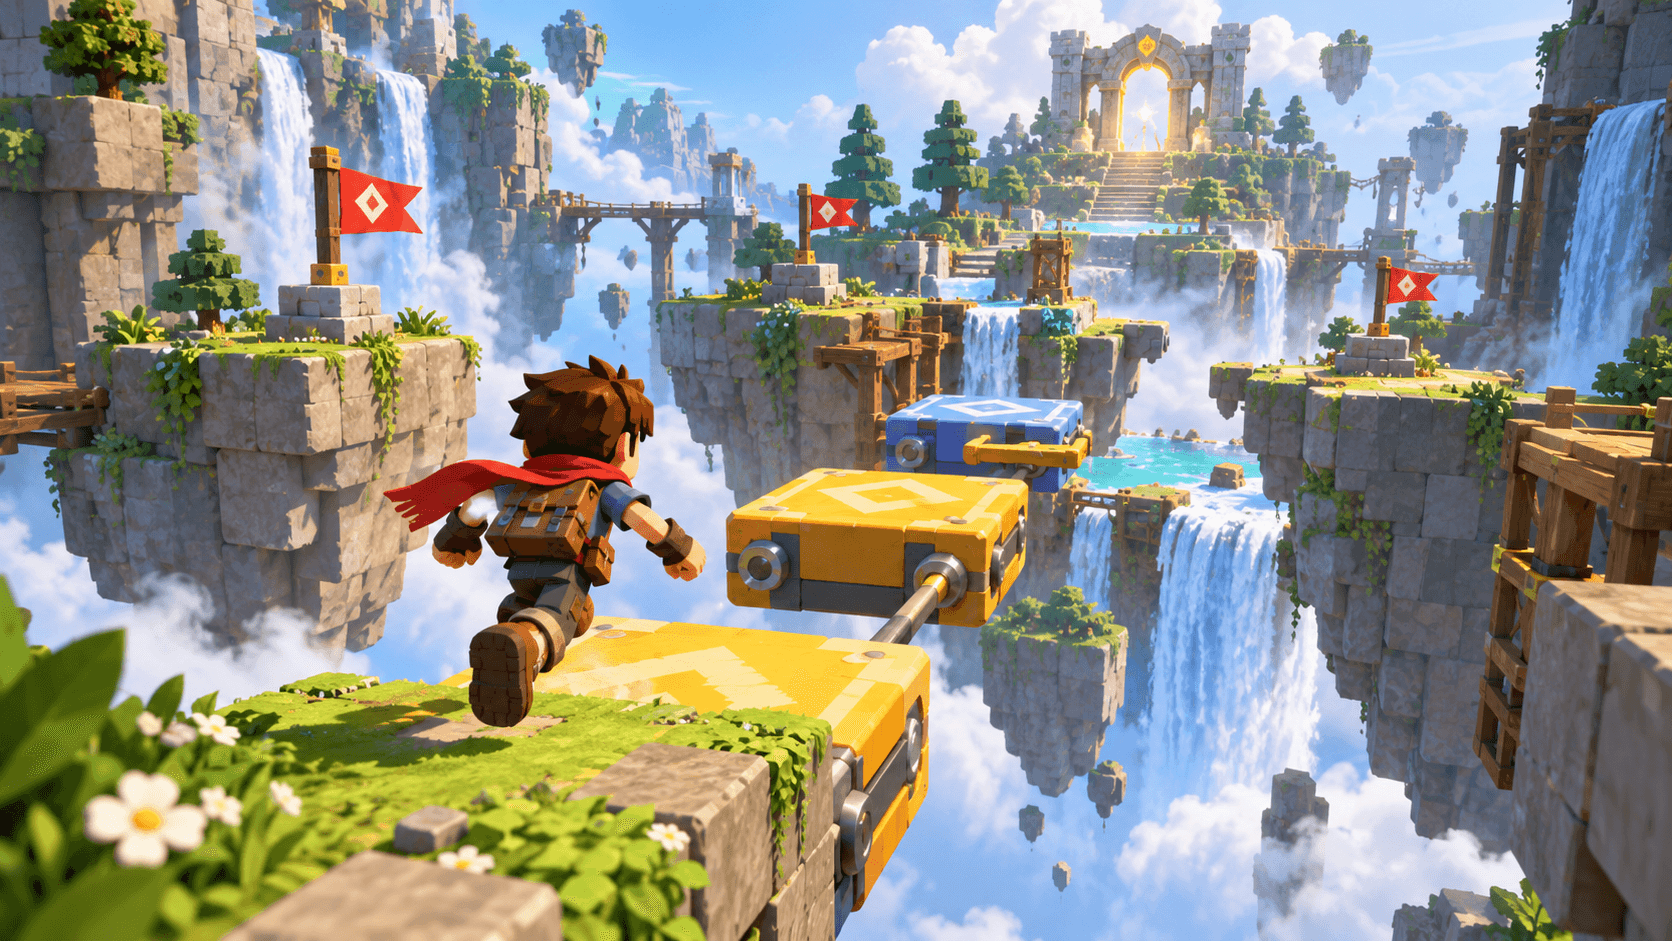
An obby succeeds when players understand the next jump and feel that a mistake was fair. The course does not need hundreds of obstacles in its first version. Three kinds of jumps, a visible checkpoint and a finish state teach more than a huge line of unfinished platforms.
Build the route in Roblox Studio with simple shapes before asking AI for decoration. The cover is an original concept illustration, not a tested place file. Native Studio playtesting is still required.
Give each jump a visual lesson
Start with a wide platform and a short gap. Then introduce one moving platform or a turn. A jump should communicate its destination through shape, color or framing. If the next landing is hidden behind a wall, players may blame the camera rather than their timing.
Use consistent materials for safe platforms and hazards. A dangerous surface should not look identical to a landing surface. Color alone is weaker than color combined with shape or motion.
| Obstacle | Skill | Fairness check |
|---|---|---|
| Short gap | Basic movement | Landing is visible from takeoff |
| Moving platform | Timing | Motion has a readable cycle |
| Narrow turn | Camera control | Player has room to correct |
| Final jump | Confidence | Finish is visible before the attempt |
Checkpoint behavior is part of the game
Decide whether a checkpoint activates by touch, interaction or an explicit button. Show the activation immediately. When a player falls, return them to a safe position above the checkpoint and clear any falling velocity.
Test a checkpoint twice, then leave and rejoin the session. If progress is session-only, say that clearly. Do not imply persistence unless it has been implemented and tested. A checkpoint that visually activates but does not change respawn behavior creates fast frustration.
A scoped obby prompt
Prepare a Roblox Studio obstacle-course prototype with twelve original obstacles across three short sections. Teach wide jumps first, then add moving platforms and one narrow turn. Use consistent visual language for safe surfaces, hazards and checkpoints. Add three checkpoints that visibly activate and respawn the player at a safe position above the latest activated checkpoint. Clear downward velocity on respawn. Add a visible finish arch, a completion state and Restart. Keep the first version session-only; do not claim persistent saving. Include a tidy hierarchy and Studio testing notes.
The brief gives the AI a route, state behavior and stopping point. Keep combat, pets and monetization out of the first obby so you can tune movement and camera feel.
Playtest from both directions
Run the course normally, then deliberately fall near every checkpoint. Try the same jump at different camera angles. If a landing is possible only from one exact position, widen it or make the intended approach clearer. Watch a new player without coaching and note where they stop moving.
Use Roblox Studio's testing modes for solo and client-server checks. The Roblox game guide covers the native handoff, while AI debugging shows how to report a repeatable respawn failure.
Bring one improvement into Buildr at a time. Paid generation, available model access and a real Studio playtest are required before calling the course complete.
YOUR NEXT BUILD