Blender
Create a Blender Scene with AI: From Brief to Final Render
Write a stronger Blender brief, define the camera and materials, and review the native scene before creating a final image.

A Blender scene is easier to direct when you know what the final image should communicate. A robot portrait needs a readable silhouette and carefully separated materials. A game environment needs a strong camera angle, useful scale cues, and a composition that guides attention.
Buildr’s Blender destination creates a scene description and a Blender build-and-render script. The browser scene preview helps you inspect the arrangement. The final Blender image comes from running the native scene in Blender, where lighting, materials, and the renderer determine the result.
Describe the object and the shot
Start with the subject. Then describe the shot that makes it interesting. “A sci-fi robot” leaves many choices open. “A waist-up industrial robot portrait, three-quarter camera, brushed metal plates and a warm orange optical sensor” creates a much clearer visual brief.
For an environment, describe the focal point and the supporting elements. A sanctuary might need one central building, a pool, a few trees, and a deliberate foreground. Adding dozens of objects can weaken the composition if none of them has a role.
Think about the output before generation: a wide cover image, a square product shot, or a scene you want to orbit and inspect.
Write a brief that can be rendered
Include the camera, materials, lighting, and output purpose. For a first attempt, favor an arrangement that can be built from clear forms.
Create a Blender scene for an industrial robot portrait. Use a three-quarter camera with the robot’s head and upper body centered. Build layered ivory panels, dark mechanical joints, brushed metal accents, and a small orange optical detail. Use a charcoal background, a soft key light, a gentle rim light, and a wide landscape composition. Keep the silhouette readable and the materials clearly separated. Include the scene-building and render script with instructions for running it in Blender.
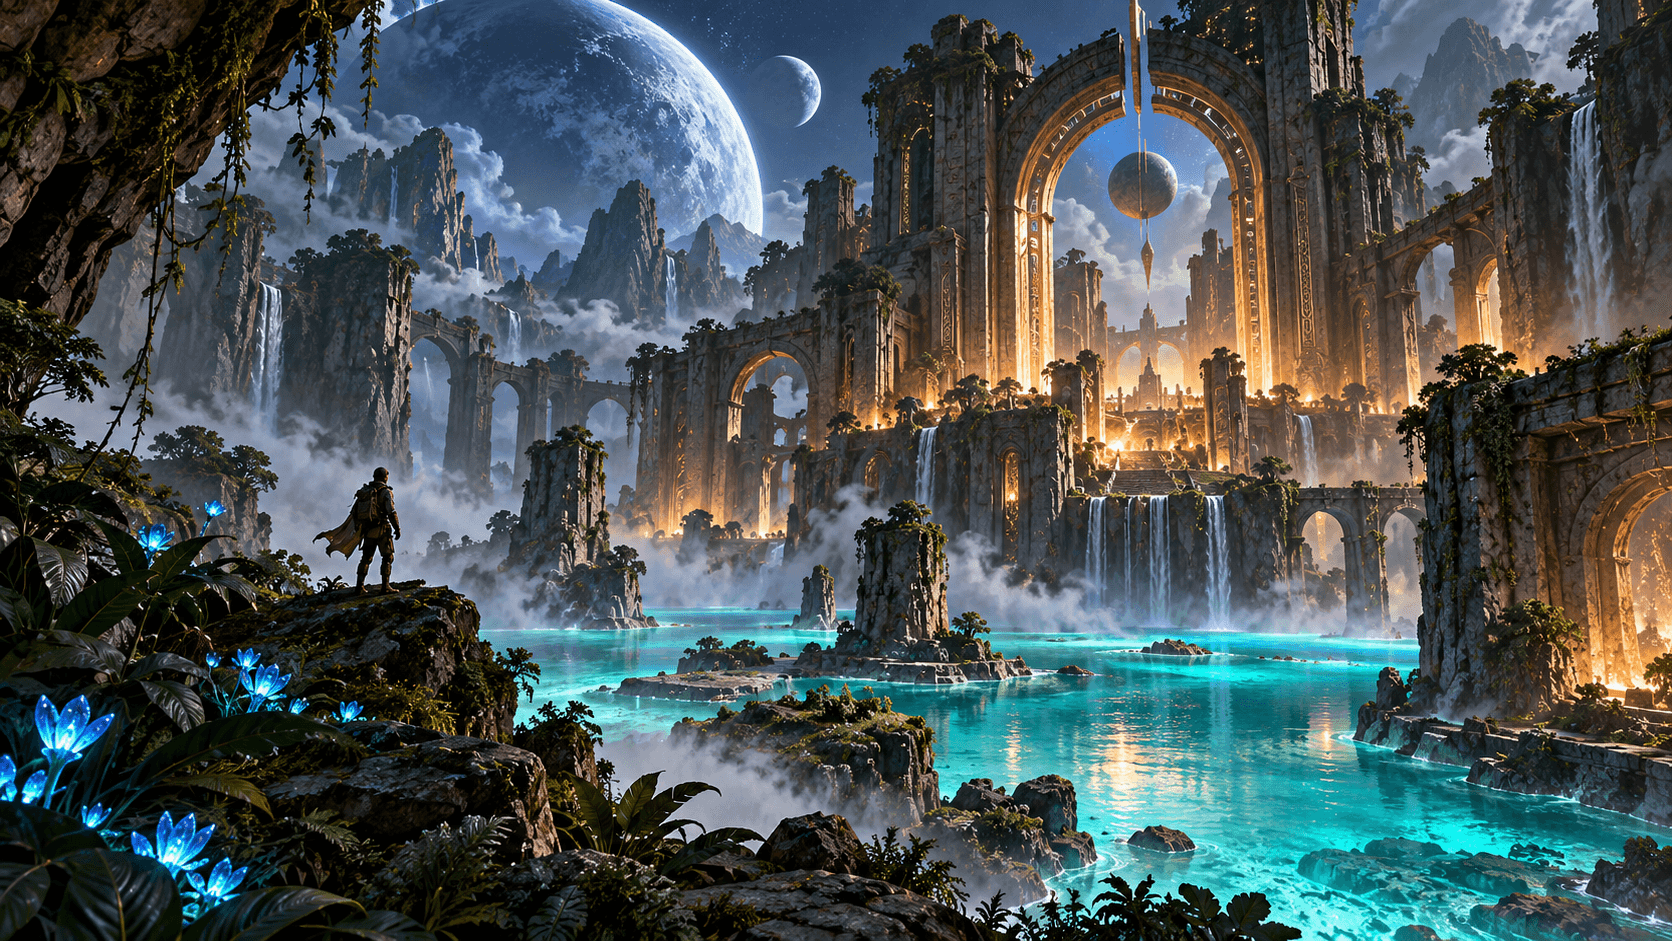
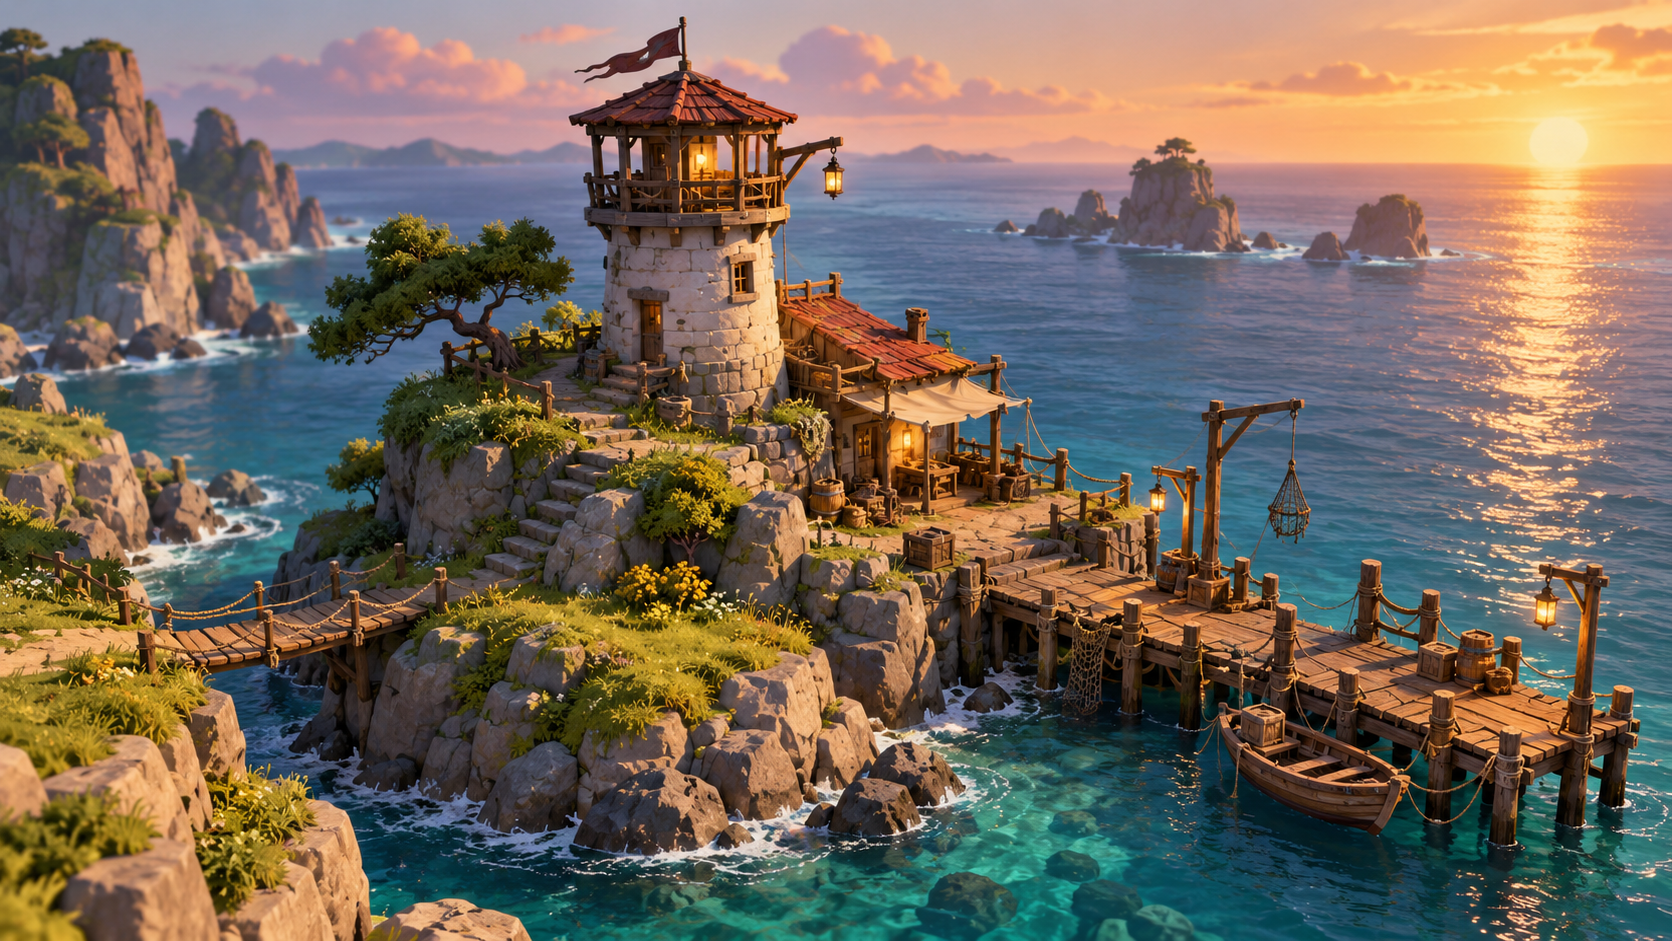
Choose Blender in the Buildr studio. The model menu shows the request price; generation needs a paid plan and an enabled model. The illustration on this page is editorial concept art, not a promise that a prompt will reproduce this exact model.
Review the scene in useful passes
Judge large shapes before small details. If the head’s silhouette is wrong, better surface textures will not fix it. If the camera is too close, more geometry can make the problem worse.
| Pass | Look for | Example revision |
|---|---|---|
| Shape | Recognizable silhouette and proportions | Widen the shoulders slightly |
| Composition | Clear focal point and sensible framing | Move the camera back to include the upper body |
| Materials | Distinct surfaces without visual noise | Separate ivory panels from dark joints |
| Lighting | Readable forms and controlled highlights | Soften the key light and reduce bright reflections |
| Output | The intended image size and framing | Use a landscape frame with space around the subject |
Request one change at a time when you need to compare results. Keep the camera and lighting fixed while judging a geometry edit.
Run the native Blender workflow
Download the export and follow its README to run the supplied build script in Blender. Inspect the scene before rendering, particularly the camera, object scale, material assignments, and lights.
The project’s Buildr connection panel provides a local Blender bridge workflow. Pair the project through the supplied instructions, then send the native render or supported scene output back into the studio. That output is different from the illustrative browser preview.
Blender still needs to be installed and running in a suitable environment. Account sign-in alone does not provide a cloud Blender renderer. If the script reports an error, keep the exact message and request a correction tied to that scene.
Decide whether you need a render or a game asset
A beautiful still image and a reusable game model have different requirements. If your destination is a game engine, inspect geometry complexity, materials, scale, and exported format. A good-looking portrait does not prove the model is ready for animation or efficient real-time use.
If your destination is a final image, focus on framing, lighting, and the story the shot tells. Save a stable scene before making the next art-direction change so you can compare versions.
For stronger visual briefs, read Better AI Game Prompts. Then open Buildr and describe a scene with one subject, one clear shot, and a deliberate finish.
YOUR NEXT BUILD