Blender
Create Low-Poly Game Assets with AI and Blender: Shape, Materials and Export
Brief a coherent low-poly prop set, then check scale, pivots, materials and export. Learn what separates a beautiful render from a usable game asset.
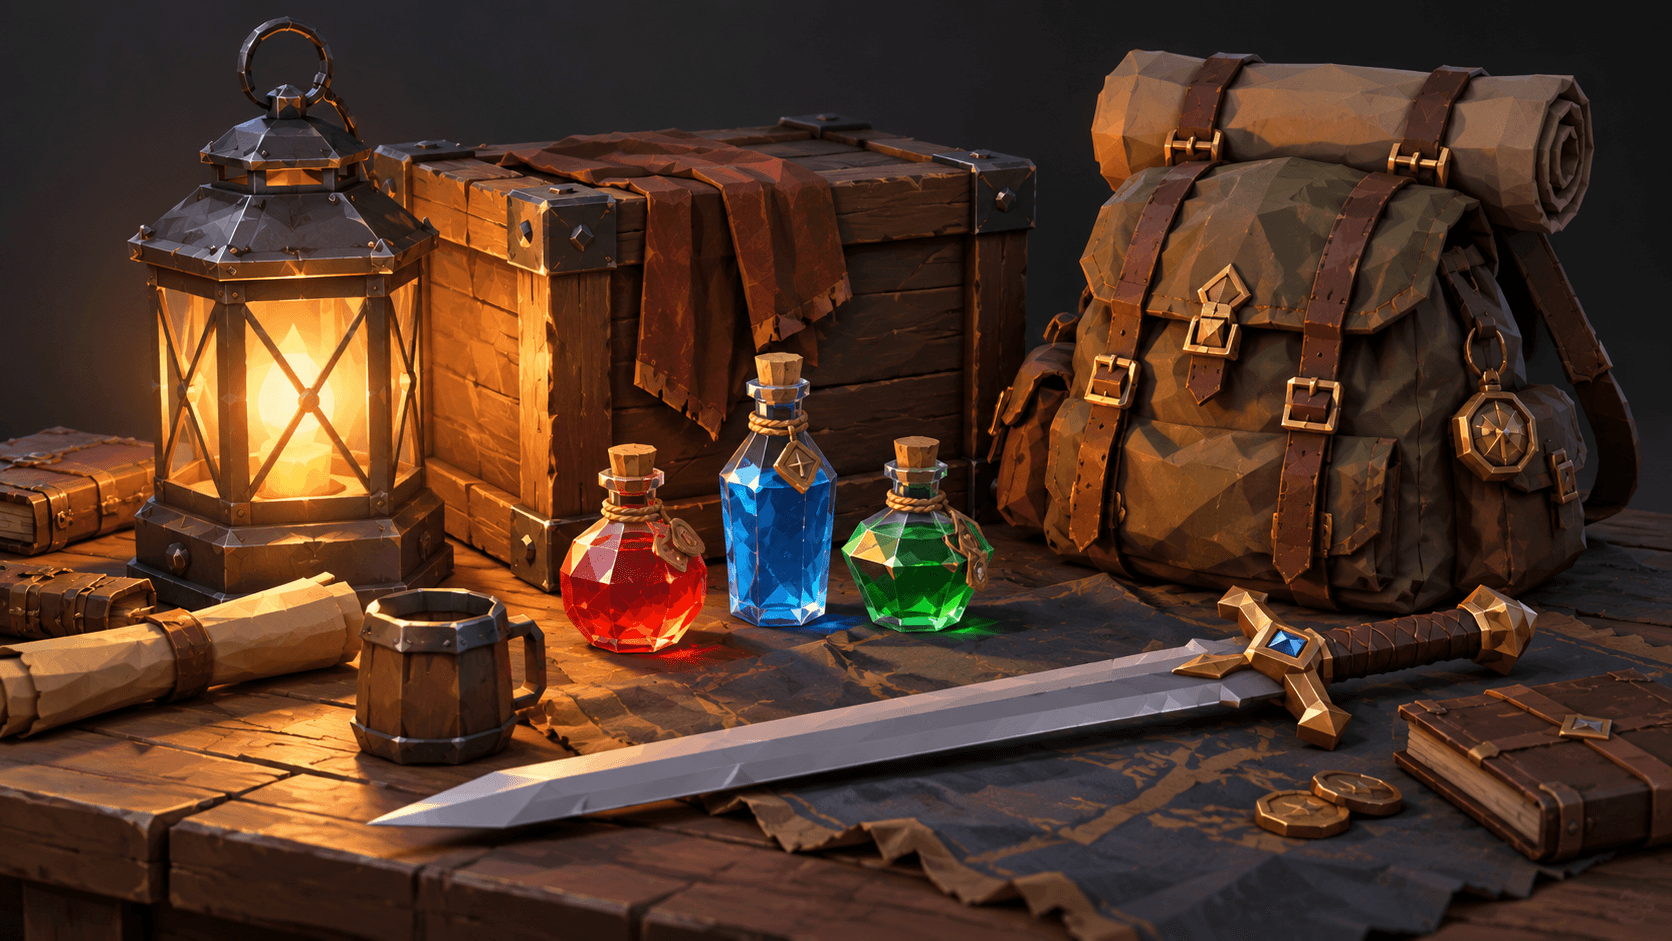
A low-poly game prop should communicate its purpose at the distance where the player will see it. A lantern needs a clear handle and light source. A crate needs a readable silhouette. A potion needs to look different from the stones around it. Fewer polygons can still support a carefully designed object.
When using AI with Blender, distinguish a scene-generation brief from a production asset specification. Buildr's Blender destination prepares scene/script material for a native Blender workflow. A polished render is useful visual feedback, but it does not establish that topology, rigging, UVs or engine import are production-ready.
Brief a family of objects
Instead of five unrelated props, describe a small collection that shares proportions, materials and a purpose. An adventurer's kit might include a lantern, backpack, crate, potion and sword. Give the collection one shape language: chunky bevels, simplified silhouettes and restrained surface detail.
Choose a few materials that repeat across the set. Warm wood, dark iron, worn canvas and colored glass can create variety without making every object look as though it belongs to a different game. Ask for clear material names so later edits can target the right surface.
Define how the object will be used
An object that sits on the ground needs a sensible origin and contact surface. A held prop needs an intended grip point. A door needs a rotation point near its hinge. These choices influence how easy the asset is to place and animate after export.
Include approximate dimensions in the brief and compare them with a familiar reference object in Blender. “A handheld lantern about the height of a forearm” gives a clearer scale target than “a realistic lantern.” Check the final size in the destination engine too.
| Check | Why it matters | Simple inspection |
|---|---|---|
| Silhouette | Recognition during play | View the prop small and from several angles |
| Scale | Consistent world proportions | Compare with a character or known-size cube |
| Origin | Placement and rotation | Move and rotate the object |
| Materials | Readable appearance after export | Inspect assigned slots and names |
| Geometry | Practical runtime use | Review mesh density and hidden detail |
A first Blender asset brief
Prepare a Blender scene script for an original low-poly adventurer prop set: a handheld lantern, a small wooden crate, one potion bottle, a canvas backpack and a short sword. Use a consistent chunky silhouette, modest bevels and restrained detail. Separate objects with descriptive names. Give standing props ground-level origins and identify intended grip points for held props. Use a small shared palette of wood, iron, canvas and colored glass materials. Arrange the props in a clean inspection scene with a neutral backdrop and soft lighting. Include a size reference and export instructions. Clearly state any unsupported rigging, texture-baking or UV work rather than inventing completed assets.
This first request gives you a collection to inspect. If a mesh needs different proportions, revise that object before adding many more props. One consistent lantern can define the style for an entire room.
Inspect the mesh separately from the render
Lighting and camera distance can hide awkward geometry. Inspect the object from the back, underneath and at close range. Check for disconnected parts, unintended intersections and surfaces that disappear from certain directions. Look at whether expensive hidden detail contributes anything visible during play.
If you need deformation, such as a bending backpack strap or animated character, a static procedural model may not be enough. Rigging and topology become separate requirements. Specify them and inspect the result instead of assuming they came with a nice material.
Test an actual export
The Blender glTF export manual describes supported export behavior. Export a small sample and reopen it in a viewer or the intended engine. Verify scale, orientation, materials and object separation there.
Some Blender shading choices do not transfer in the same form to another renderer. Use the destination import as a test, then adjust the asset based on the visible result. Keep the Blender source available so you can revise it without rebuilding the whole collection.
Build the next useful object
Read the Blender scene guide for the overall workflow and the lighting guide for presenting the model clearly. Take your prop brief into Buildr, using paid credits and an available model. Inspect the native output before describing it as a ready-to-ship game asset.
YOUR NEXT BUILD